

Our Water Damage Restoration Process
Water damage restoration is not simply removing visible water and replacing damaged flooring.
Water can move through a building in several directions at once. It can travel beneath floors, wick upward through drywall, enter wall cavities, saturate insulation, reach electrical components and migrate from one floor to another. A roof leak may appear at a ceiling far from the original point of entry, while a plumbing failure can affect rooms that never contained visible standing water.
Our water damage restoration process is designed around one objective:
Follow the water through the entire building before rebuilding begins.
For homes and commercial properties throughout Reno, Sparks and the surrounding Northern Nevada area, that means evaluating the source, water category, affected materials, hidden moisture and building systems involved in the loss.
Step 1: Identify and Control the Water Source
Restoration begins with understanding where the water is coming from.
A broken plumbing line requires a different response than roof intrusion. An overflowing fixture creates different conditions than a sewer backup. Water entering around a window or exterior wall may indicate an unresolved building-envelope problem.
Common sources include:
- Broken or leaking plumbing lines
- Water heater failures
- Toilet and drain overflows
- Appliance leaks
- Roof leaks
- Window and exterior wall intrusion
- HVAC-related water
- Fire sprinkler failures
- Sewer backups
- Storm-related flooding
- Commercial plumbing failures
Stopping or controlling the source is critical.
Drying a building while water continues entering the structure does not solve the underlying problem.
Step 2: Determine What Type of Water Damage Occurred
The source of the water helps determine how restoration should proceed.
Clean water generally begins from a relatively sanitary source, such as certain supply-line failures.
Gray water can contain contaminants and requires additional precautions.
Black water represents a more serious contamination condition and can include sewage or certain types of outside floodwater.
Time matters as well.
Water can change after moving through a building and contacting flooring, dirt, waste, insulation, construction materials or other contaminants.
Identifying the type of water loss helps determine which materials may be dried and which should be removed.
Step 3: Establish the Full Damage Area
Visible water rarely tells the complete story.
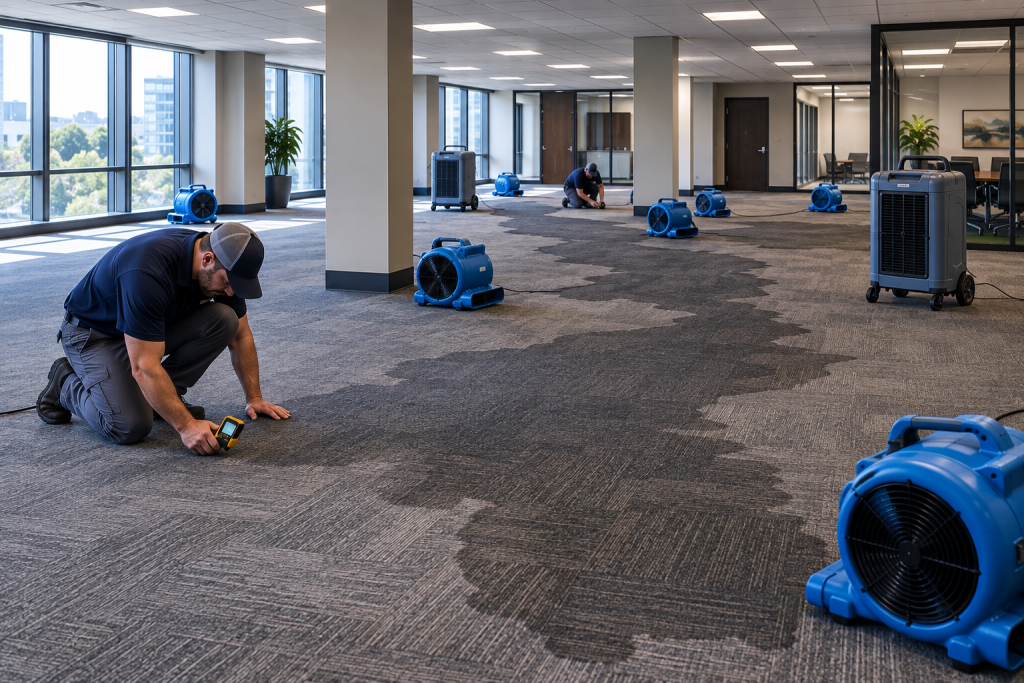
A wet carpet may be obvious.
Moisture underneath the carpet may not be.
The same applies to drywall, ceilings, cabinets and flooring systems. Materials can appear relatively normal at the surface while moisture remains behind or underneath them.
Our process looks beyond the original flooded room.
Adjacent spaces, walls, ceilings, flooring and connected building assemblies may need evaluation depending on how the water traveled.
This is particularly important in multi-story homes and commercial buildings where gravity can carry water into lower levels.
Step 4: Protect Unaffected Areas
Preventing additional damage is part of restoration.
Furniture, equipment, inventory and other contents may need to be moved away from affected areas. Commercial properties can require temporary containment or controlled work zones to separate restoration activity from occupied portions of the building.
Protective measures depend on the property.
An occupied office requires different planning than an empty warehouse. Retail stores must consider merchandise and customer areas. Homes may require access to unaffected bedrooms, kitchens or living spaces while restoration continues elsewhere.
Good restoration planning considers what is still dry—not only what is already wet.
Step 5: Remove Standing Water
Once conditions are understood, standing water can be extracted where appropriate.
Removing large quantities of water quickly reduces the amount available to continue spreading through the structure.
Extraction can be especially important for:
- Carpeted rooms
- Commercial offices
- Retail properties
- Warehouses
- Basements
- Multifamily buildings
- Hotels
- Large open floor areas
However, extraction should not be confused with structural drying.
A floor can look dry while moisture remains underneath it.
Removing visible water is one stage of the process, not the finish line.
Step 6: Evaluate Floors and Subfloors
Water naturally moves across and beneath flooring.
Carpet and padding can absorb moisture rapidly. Hardwood may swell or cup. Laminate materials can deteriorate after exposure. Commercial carpet tile and resilient flooring may allow moisture to become trapped underneath the finished surface.
Tile itself may remain intact while the assembly underneath requires attention.
Subflooring also matters.
Wood-based subfloors can absorb water, while concrete substrates may retain moisture that affects future flooring installation.
Before replacement begins, the entire flooring assembly should be considered.
Installing a beautiful new floor over an unresolved moisture condition simply hides the problem.
Step 7: Inspect Walls, Drywall and Insulation
Walls can transport water farther than many property owners expect.
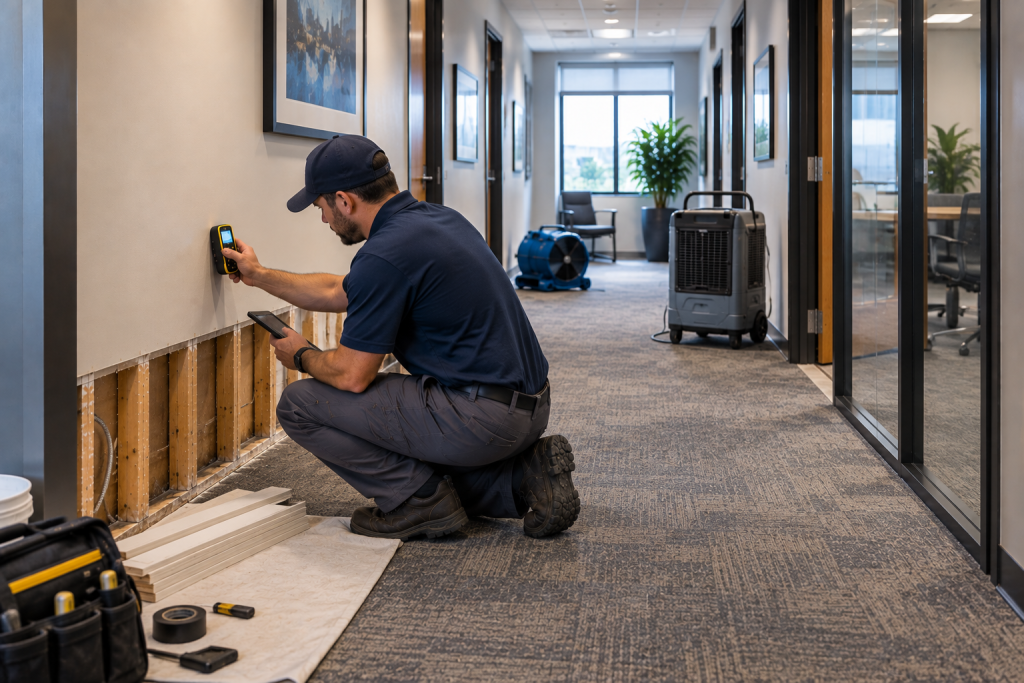
Drywall can absorb moisture from the bottom upward. Insulation inside the cavity may become wet. Baseboards and trim can swell or separate.
Behind those finishes are structural framing, electrical wiring and sometimes plumbing.
Selective demolition may be appropriate when opening part of the wall provides access to materials that cannot otherwise dry effectively.
Not every wall automatically needs to be removed.
The objective is to remove what needs to come out while preserving unaffected building materials whenever practical.
Step 8: Evaluate Ceilings and Damage From Above
Water appearing at a ceiling often means the loss began somewhere else.
Second-floor plumbing failures can affect rooms below. Roof leaks may saturate insulation before becoming visible inside the property. HVAC-related moisture can also appear around ceilings and mechanical areas.
Commercial suspended ceilings introduce another possibility.
Water can move above ceiling tiles along pipes, ductwork and structural components before finally appearing in an occupied room.
Ceiling restoration therefore starts by looking above the visible damage.
Replacing a stained tile or repainting drywall without addressing the source does not complete the repair.
Step 9: Check Structural Framing
Framing becomes especially important during larger or longer-duration losses.
Wall studs, floor joists, roof components and other wood materials can absorb moisture after prolonged exposure.
Wet framing does not automatically mean the structure must be replaced.
Condition, exposure time and drying potential all influence the decision.
The larger concern is enclosing wet structural material behind new drywall, flooring or finishes before appropriate drying has occurred.
Restoration should give the structure an opportunity to dry before reconstruction conceals it again.
Step 10: Consider Electrical Systems
Water damage and electrical infrastructure require caution.
Outlets, switches, lighting, wiring, electrical panels and powered equipment can potentially become involved in a significant water loss.
Commercial buildings introduce additional systems such as:
- Power distribution
- Data infrastructure
- Access control
- Security systems
- Equipment circuits
- Emergency lighting
- Specialized machinery
Electrical components affected by water may require evaluation by qualified professionals.
Cosmetic reconstruction should never take priority over electrical safety.
Step 11: Evaluate Plumbing
Sometimes plumbing caused the loss.
Other times, plumbing simply passes through an area affected by water from another source.
Both situations deserve attention.
Supply lines, drains, fixtures, valves and connections can be evaluated where relevant before walls and ceilings are closed.
This becomes particularly valuable during reconstruction.
If an assembly has already been opened because of water damage, identifying another deteriorated plumbing component before rebuilding may prevent another disruptive loss later.
Step 12: Evaluate HVAC and Mechanical Systems
HVAC systems interact with the entire building.
Ductwork passes above ceilings and through walls. Mechanical equipment may be located in attics, closets, basements, mechanical rooms or rooftop areas.
A significant water event can therefore involve HVAC infrastructure directly or indirectly.
Commercial properties can be considerably more complex.
Multiple zones, rooftop equipment, large duct systems and mechanical rooms may all interact with the affected area.
Understanding whether the loss reached these systems should happen before reconstruction closes access.
Step 13: Check Windows, Glass and Exterior Openings
Not every water problem originates inside the building.
Water intrusion around windows, doors and glass systems can damage drywall, framing, insulation, paint and flooring.
Residential windows may have issues involving seals, flashing or surrounding exterior construction.
Commercial storefront glass and entrance systems introduce larger assemblies where water intrusion can appear along framing or adjacent finishes.
Finding the entry point is critical.
Repairing interior water damage without correcting the exterior source creates the possibility of repeating the entire restoration process after the next storm.
Step 14: Investigate Roof-Related Water Intrusion
Roof leaks can become whole-building water losses.
Once water passes through the roof system, it may encounter insulation, decking, framing, electrical components, ceilings and walls before reaching an occupied room.
The location of the visible leak does not always identify the roof failure directly above it.
Water can travel.
That makes tracing the path important.
Interior restoration and exterior repairs need to work together so the damaged space is not reconstructed beneath an unresolved roof problem.
Step 15: Begin Structural Drying and Dehumidification
After extraction and necessary material removal, the focus moves toward controlled drying.
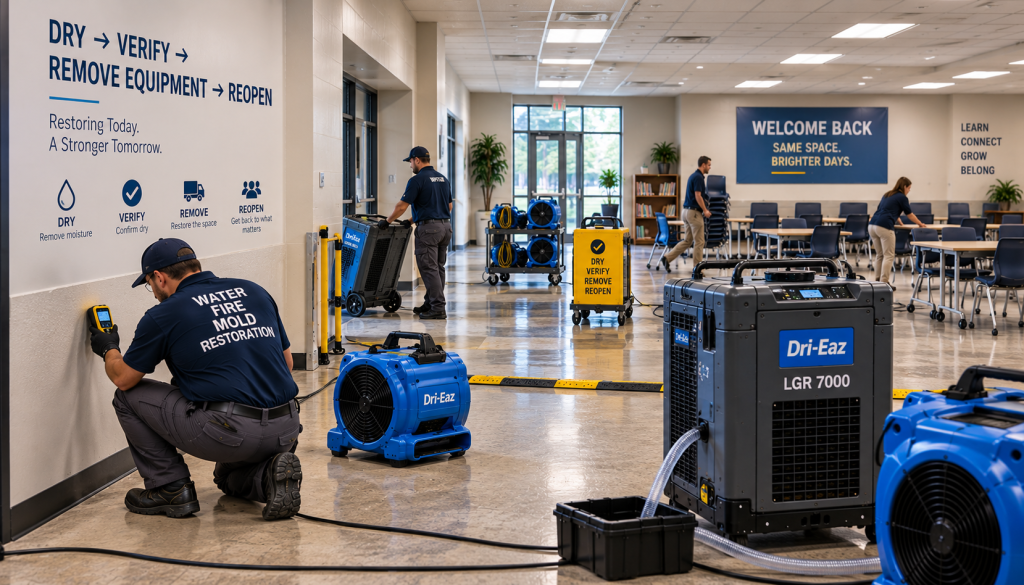
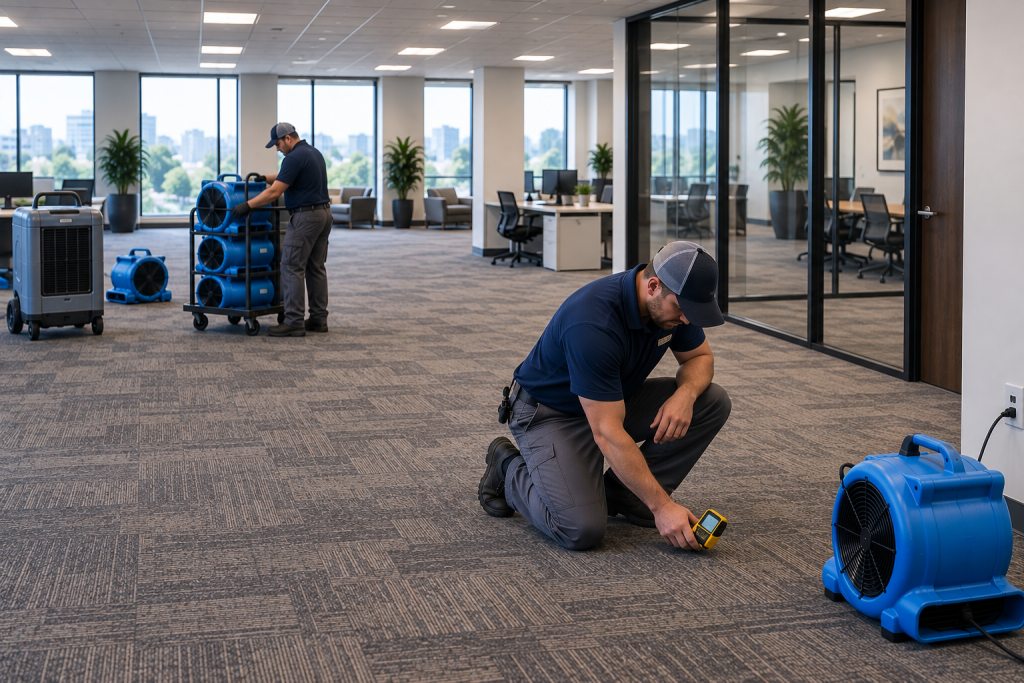
Air movement and dehumidification help remove moisture from affected building materials and the surrounding environment.
Drying strategies vary because materials behave differently.
Concrete does not dry like drywall.
Wood does not behave like carpet.
A wall cavity creates different conditions than an open warehouse floor.
Equipment placement and the duration of drying should reflect the actual building rather than a one-size-fits-all formula.
Step 16: Monitor Drying Progress
Drying should be treated as a process rather than an assumption.
Materials can look dry before moisture conditions have sufficiently changed.
Monitoring helps determine whether the drying strategy is working and whether adjustments are necessary.
Some areas may respond quickly.
Enclosed assemblies can require additional access.
Large commercial properties may contain multiple drying environments within the same loss.
Progress should guide the next step rather than simply allowing a predetermined number of days to pass.
Step 17: Determine What Can Stay and What Should Be Replaced
One of the most important restoration decisions is deciding what actually needs replacement.
Automatic demolition can waste usable materials and increase reconstruction costs.
Keeping damaged materials simply because replacement is inconvenient creates the opposite problem.
Each component should be considered according to its condition.
Flooring may need replacement while framing remains usable. Portions of drywall might require removal while adjoining walls stay intact. Ceiling materials can be affected without requiring complete ceiling reconstruction.
The goal is targeted restoration.
Remove what cannot reasonably remain. Preserve what can.
Step 18: Plan Reconstruction Before Drying Is Finished
Reconstruction planning does not need to wait until the final piece of drying equipment leaves.
Materials may need to be ordered.
Flooring selections can be made.
Drywall, paint, trim, cabinetry and ceiling requirements can be identified.
Commercial projects may require coordination between several trades.
Planning early helps reduce the gap between mitigation and build-back.
That becomes particularly important when the property owner is trying to reopen a business or return occupants to the building.
Step 19: Commercial Water Damage Requires an Operational Plan
Commercial restoration involves more than repairing the structure.
The business inside the structure matters.
An office may need employees to remain on another floor.
Retail stores can require restoration zones separated from customer areas.
Warehouses may need inventory relocated while maintaining shipping operations.
Hotels can have occupied rooms near the affected area.
Restaurants, medical facilities and industrial buildings introduce their own operational requirements.
Restoration planning should consider access, staging, noise, dust, equipment placement and the sequence in which areas return to service.
Reducing unnecessary business interruption becomes part of the overall recovery strategy.
Step 20: Coordinate Tenant Improvements When They Make Sense
A substantial commercial water loss can create an opportunity to rethink the space before rebuilding it.
Suppose drywall, flooring and ceilings have already been removed from an older office.
Reconstructing the exact same outdated layout and then performing a tenant improvement six months later could mean paying for demolition and construction twice.
Instead, property owners can evaluate planned improvements during the restoration process.
Conference rooms might be repositioned.
Interior glass can replace conventional partitions.
Lighting may be upgraded.
Electrical and data infrastructure can support a modern office layout.
HVAC distribution can be coordinated with new rooms.
Retail spaces can reconsider customer flow and flooring.
The sequence can become:
Water mitigation → drying → damage evaluation → TI planning → commercial build-back.
Restoration and tenant improvement remain different scopes, but coordinating them can prevent unnecessary duplicated work.
Step 21: Rebuild the Property
Once affected materials are ready for reconstruction, the property begins transitioning from restoration back to normal use.
Depending on the loss, build-back may include:
- Drywall
- Ceilings
- Insulation
- Flooring
- Baseboards and trim
- Painting
- Cabinetry
- Doors
- Interior glass
- Electrical finishes
- Plumbing fixtures
- Commercial finishes
Larger projects can require multiple trades working in sequence.
The final result should address both appearance and function.
A repaired room should not merely look like the water disappeared.
It should be ready to operate as part of the building again.
Step 22: Final Review of the Restored Areas
The last stage is looking at the property as a complete system again.
The original water source should be addressed.
Affected areas should have progressed through drying and necessary repairs.
Building systems involved in the loss should receive the appropriate evaluation.
Reconstructed areas should connect properly with portions of the property that were never damaged.
This final perspective matters because water damage rarely respects individual construction categories.
The original problem may have begun with plumbing but ended with flooring, drywall, electrical, paint and cabinetry.
A roof problem can eventually become a ceiling, insulation, framing and interior finish problem.
The restoration process needs to follow those connections.
One Water Loss Can Involve the Entire Property
Every water damage project tells a different story.
Sometimes the loss is isolated to one room.
Other events move through multiple floors and building systems.
The important question is not simply:
Where can we see water?
The better question is:
Where did the water go?
That approach guides our water damage restoration process from the initial source investigation through extraction, structural drying, flooring, walls, ceilings, framing, plumbing, electrical systems, HVAC, windows, roofing and final reconstruction.
For commercial properties, the process can extend into business recovery, tenant improvement planning and complete build-back.
Water damage restoration should ultimately accomplish more than making a wet building look dry.
It should identify how the loss affected the property, address the damaged components and create a clear path toward putting the entire building back into service.